![[Most Recent Quotes from www.kitco.com]](http://www.kitconet.com/images/quotes_special.gif)


The benefit of this type of clasp are several:
- In this tutorial mine is a simple set of hemispheres, but these could be any shape and form, with etched, soldered or constructed details, which make the clasp an integral part of the design of the necklace or bracelet for which it is intended.
- There are no separate 'loose' elements to break or wear away.
- You might find it easier to make than a box or tube clasp because there is no sprung tongue to make...(if your springy tongue is not of the right dimensions or not hard enough then it doesn't work smoothly. I think the construction of this box toggle-clasp is easier than that for a box clasp.
- It can be a very small device as I've made here, or it can be a very large feature.
- It can be just as discreet as a small box clasp, in this case each half of the device is only 3mm in depth.
- Simple tools required.
So here we go;


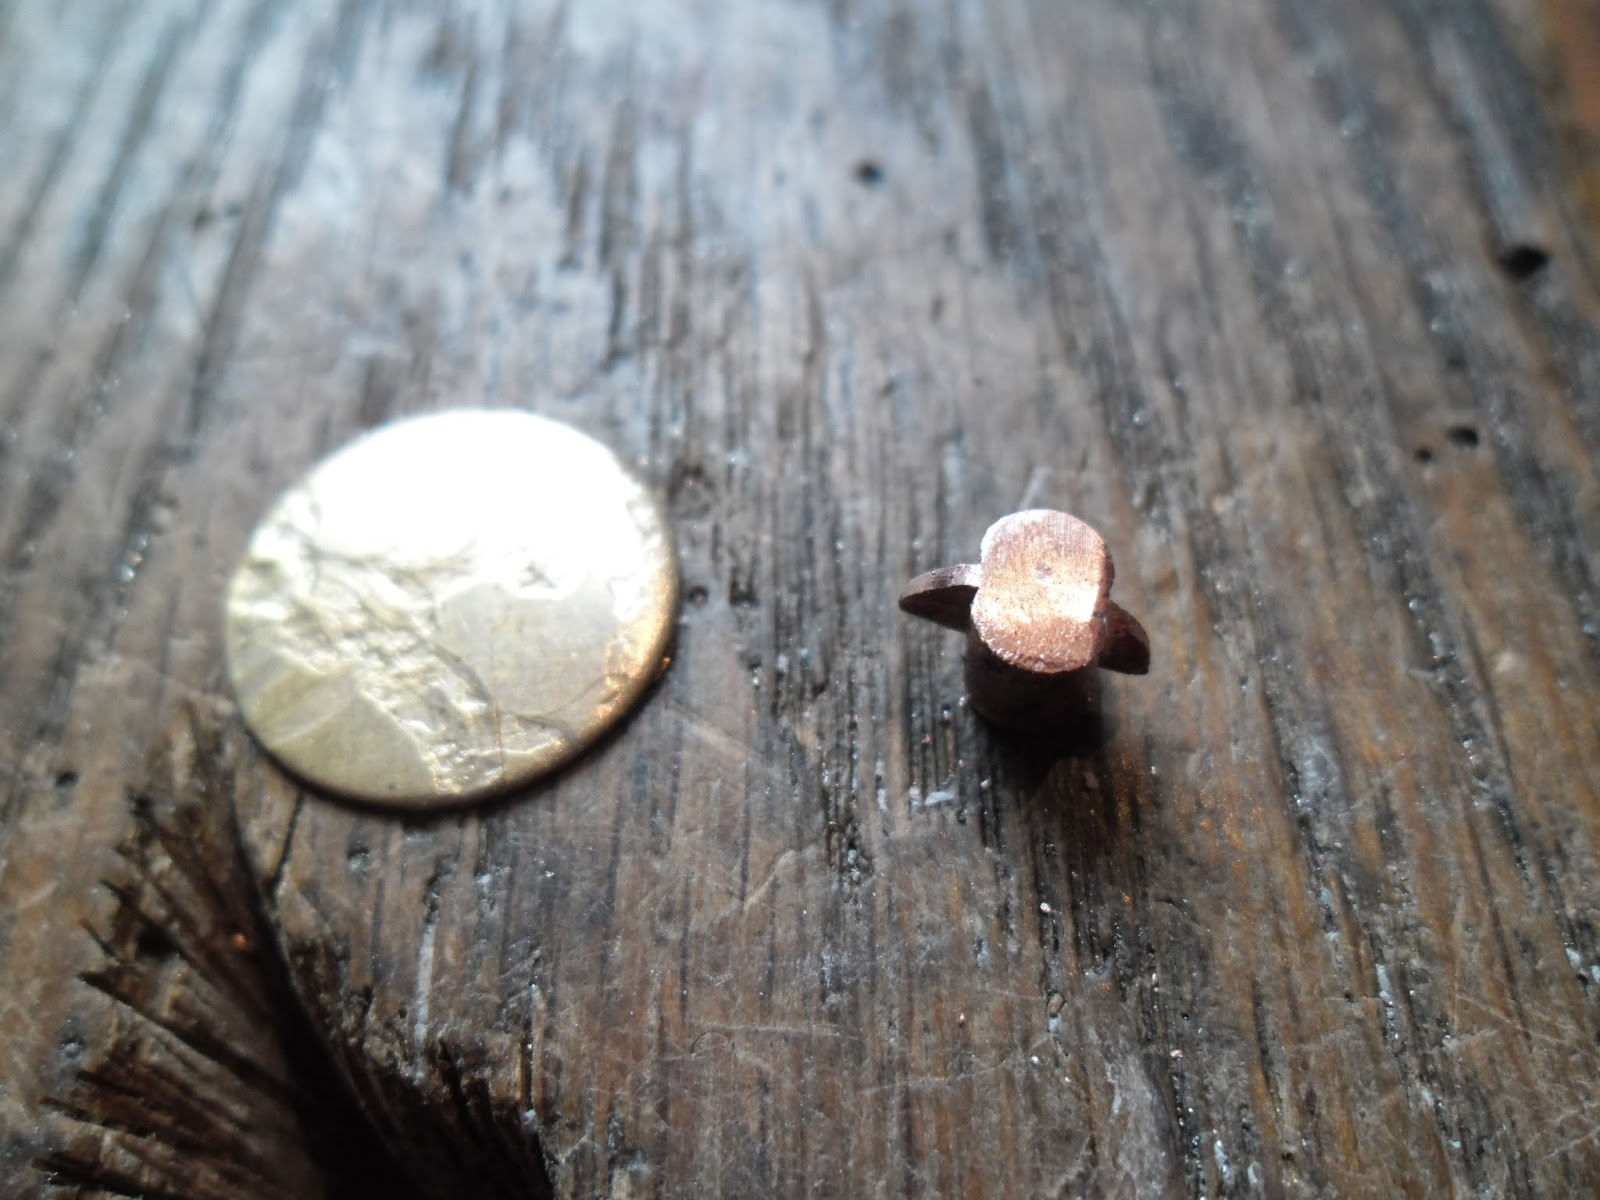
1. In this case, I punched out two larger circles that will be the flat, touching surfaces of the clasp and one small circle which will be sawn in half to become part of the locking mechanism. If you don't have a circle punch then you can mark out the cirlces with a pair of dividers then saw out. I also have some half-round wire.
2. I have cut the small circle in half and I next intend to sandwich it between two 1cm lengths of the half-round wire like this (above right), but there's a gap which means that not all surfaces are making good contact....

3. ...so, I need to file a recess in one half of the half-round wire, so that the semi-circle sits on it with its surface flush with the flat surface of the half-round wire. I'm leaving a bit of wire sticking out, as it's easy to file away later...better than losing length of the semi-circle at this stage.

4. You can see above that I'm holding my little length of half-round wire in a ring vice (ring clamp) so that it's easy to use my flat needle file.


5. Now you can see where I have made the recess for the semi-circle to fit and when I put it between the two little lengths of half-round wire and bind it together ready for soldering, there's no gap anymore.

6. Here's the little fella soldered together with hard solder. I've filed the end flush and tidy. Now it needs to be soldered onto one of the plates.....

7. Here it is soldered on, also with hard solder, right in the centre of the plate, with its little wings spread out. There's no reason why you should un-solder the work you've done on the wire and semi-circle, as long as you keep your flame concentrated mostly on the plate during the heating up and then darting to the wire at the last moment. I use hard solder with the fact in mind that this is a device which will be wiggled and twisted a lot by the wearer.


8. Next we want to make the 'key-hole' in the other base plate, so first use a circle gauge stencil of the kind you find in a good stationery shop, to find the size of circle that will easily fit over the wire (but not so it fits over the wings too).
9. I've marked out the circle, drilled a pilot hole, then commenced sawing out the hole along with a slot which is slightly longer and a teensy bit thicker than the wings themselves.

When I test it, the 'key' fits into the slot, inside the hemisphere and can be turned like a key.

10. Once I'm sure that the key-hole fits, I solder that plate into its hemisphere (which is the part I said in the beginning that could be whatever design you liked). I used medium solder and the same again for soldering the half jump-ring onto the side. Do the same with the other half of the clasp....the part with the 'key' on.

11. If your key is a smidge too long to be accommodated in the depth of the other half of the clasp and therefore is not able to turn at all, then it's perfectly okay to file it down a little. Again, I have used my trusty ring vice to hold the half while I use a medium sized flat file to shorten the length of the key.

12. Here is the finished device. There are two important things to note here, firstly I have filed the edges of the hemispheres where they are joined to the base plates, with a sloped edge to make it easier to hold the piece when undoing it...it just helps you fingers grip it a bit at this small scale because hemispheres are slippery to grab. Secondly, I have located the jump rings so that when the finished piece of jewellery is worn, the key and lock are in opposing directions and will not undo...that is the point of it, after-all!
So finally, we have a nice clasp which operates in exactly the same way that a toggle clasp does, but has a whole different set of plus-points to it. Good luck!
No comments:
Post a Comment