Saturday, December 31, 2011

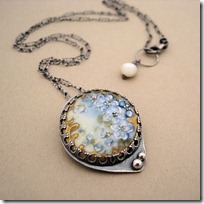
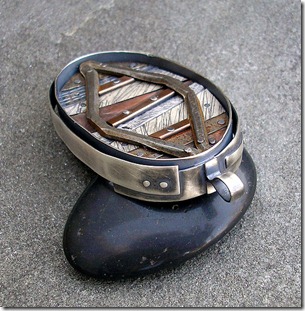
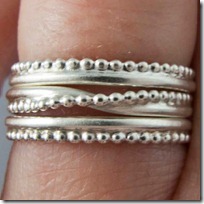
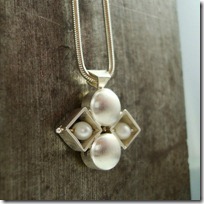
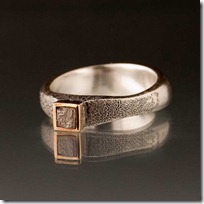
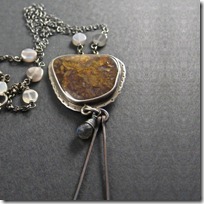
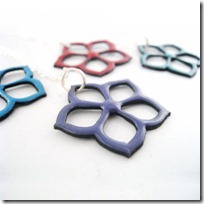
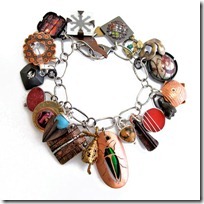
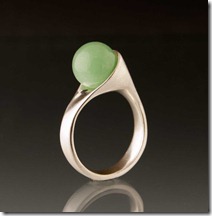
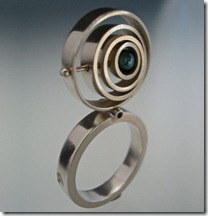
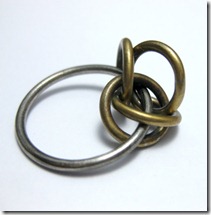
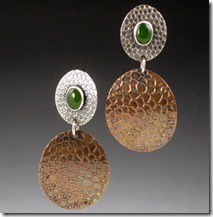
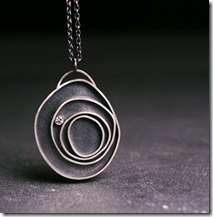
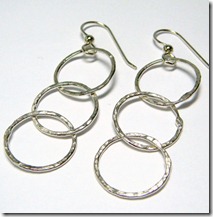
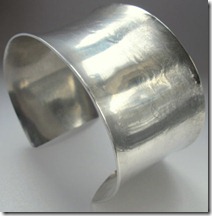
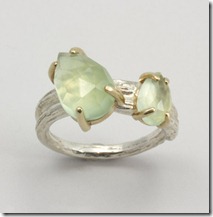
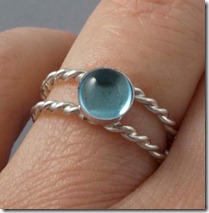
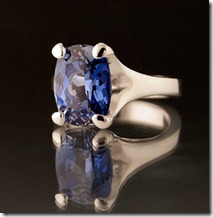
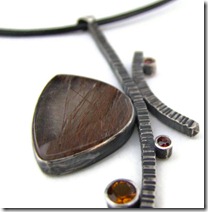
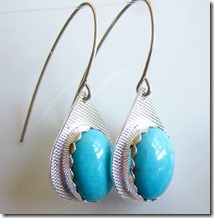
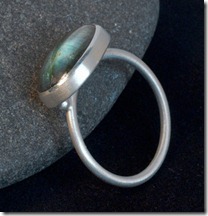
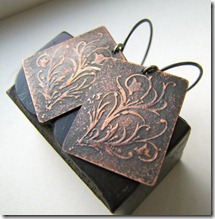
“What’s New”–this week in out shops

12
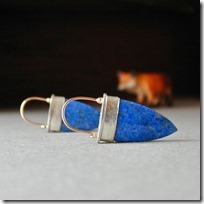
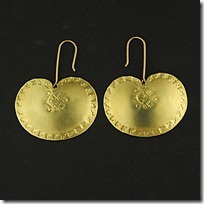
LSueSzabo                                                betsybensen
34 
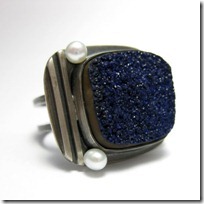
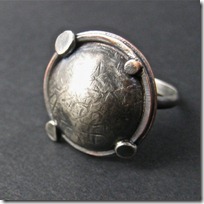
 2Roses                                                      Art By Winona  
5
 e5jewelry


Happy new year everybody !

Tuesday, December 27, 2011

Ask Auntie EM - What torch sould I get??? Part one - first you'll need gas.

Have you heard about the new weekly blog post called "Ask Auntie EM"? Ann Hartley of Hartleystudio and, Sue Szabo of lsueszabo , will be answering YOUR questions in a weekly post we are calling "Ask Auntie EM". EtsyMetal has over 100 members with vast amounts of knowledge and far reaching interests and capabilities. We figured if we couldn't answer your questions...someone on the team could! "What can we ask?" Great question! Ask anything! Metalsmithing, enameling, raising, stone setting, cooking, childcare, travel...you got a question, we probably have an answer! Email your questions to askauntie@etsymetal.com and, who knows...you might get your question answered next week!

So sorry for the long hiatus...Auntie EM has been VERY busy making jewelry and wrapping presents. Did you get any excellent goodies this holiday season? I'll bet you have some extra cash burning a hole in your pocket and maybe you're asking yourself "I wonder what kind of torch I should get" Are you sick of using a hardware store torch? Besides being SO expensive per use, they aren't very environmentally friendly. The list of torches is long and there are several different options for fuels. There is something here for everyone and I'm going to try to spell out the pros and cons of each type.

I recently talked to Praxair Safety Manager, Mike Stephens and he was incredibly knowledgeable and helpful. I would encourage you to call Praxair, or wherever you buy your fuel, if you ever have any questions...no matter how stupid you think they might sound. Believe me, I asked some pretty dumb questions and he answered every one without making me feel like an idiot. Thanks Mike!

First off, Mike says everyone should have "flashback arrestors" on their regulators. This prevents the gas from traveling back into the oxygen tank and causing the tank to catch fire internally. There is a great article on them here.

So, let's talk about fuel. There are thee main types of fuel that are good for making jewelry. There is acetylene, propane and natural gas. Each has it's own pros and cons so I'll go over each one individually.

Acetylene is probably the most popular choice for lots of reasons. This gas burns the hottest and combines well with oxygen to produce a very hot, very precise flame. Acetylene is sold in tanks, most home jewelers get a "B" size tank that is small and easy to transport and store in a studio. Each tank is filled with a calcium carbide and water core that is very porous. The acetylene is mixed with acetone and becomes very viscous in the tank. When in the tank in this viscous state, the gas is very stable. If you look on the top of each acetylene tank you will see a grey circle. This is your safety valve. If the air around the tank should reach 212 degrees, this valve will melt open and release the gas and pressure. This is good if there should be a fire, it will keep your tank from exploding, but bad if you keep your tank too close to a heat source (remember kids, it's 212...it takes a lot of heat to set that sucker off) or your lit torch. Be aware of where you keep your tank. Acetylene should be kept indoors and above freezing. When acetylene is too cold, the viscous liquid the gas is combined with will thicken and you won't be able to get the pressure you need to use the torch properly. Ideal temperature is 7o F. Acetylene tanks also need to be kept vertical and, if transported in the horizontal position, need to be standing upright for as long as they were laying down before they are used. It takes a while for the gas to move through it's porous core into the bottom of the tank where it belongs.

Now let's talk about Propane. Now, I don't use propane so I don't have as much first hand information about this gas. Propane burns cleaner but, if your pressure is correct, Mike says all the fuels we talked about will burn clean. Propane is easy to get, being sold on almost every street corner and hardware store. Propane requires different tips than acetylene and natural gas and different hoses. If you buy a torch for propane, it can't be used with any other gas without buying new tips and hoses. If you will be using propane with oxygen, know that it will use more oxygen than acetylene, Mike thinks it's enough to justify the extra expense of the acetylene. Speaking of price, propane is definitely cheaper than acetylene as well. For any welders, and I mean plumbers, iron workers ect..., out there...propane can't be used for brazing and welding so you'll need to use acetylene for sure.

The last gas I want to address is natural gas. I used natural gas for years and really liked it. I used the same torches, tips and hoses I use now for acetylene and it was very convenient. You will need a licensed plumber to come out and run a natural gas line to your bench area and natural gas has to be regulated so you will need a regulator to control the pressure. It is one of the safer home options as your house may already be set up for natural gas. Natural gas burns very clean and, again, if it's regulated properly, you should have a flame that is about as hot as propane. There are no tanks to mess with and it's a very economical option. My own husband is a plumber and we have talked many times about running a line out to my studio to convert it over to natural gas but we just never seem to get around to it.

In any case, the gas you choose is secondary to the safety precautions you use in your studio. All tanks need to be chained up so they don't fall over. The valve on oxygen tanks is particularly dangerous as the valve diameter is so small and the oxygen is under extreme pressure. Any blow to a valve should be investigated. So, you have your tanks secured safely, that's great but now...you need to shut off your tanks and bleed your lines EVERY TIME YOU ARE DONE. I am miserable about this. I did it every night at school and have failed miserably now that I'm at home. Shutting your tanks down properly will save you money over the long haul as well as being an extra safety measure in case of a fire. To properly bleed your tanks you will need to shut the valve completely and then open the torch all the way to release the extra gas left in the hose and torch. You then need to back the pressure off your regulator until the needle is at zero. This last part is so important because, when you come and turn that valve, all the gas in the tank goes rushing to the diaphragm in the regulator. If the pressure is still high, it will slam into that diaphragm and cause damage to your regulator...and those things aren't cheap!

One last word about tanks. Don't buy a shiny beautiful new one from Rio or some jewelry supply company, buy a tank from your distributor. I say "buy" but really, you're kind of renting your tank. When you run out of gas, you will bring your tank back and they will swap you for a full one. Each time you will get a different tank. I bought a beautiful new tank and was horrified when the guy at Praxair handed me a dirty, rusty, ugly old thing. Learn from my mistake...start out dirty.

I think this might be enough for one week. There are a lot of factors in buying and setting up a home studio and how you get your fire is an important thing to consider. Think about your space, the limitations you have, how much money you can spend and what you're actually allowed to have in your house or apartment. Maybe call around to suppliers and see what different fuels cost and how available they are. I have found different suppliers have vastly different prices, on acetylene especially. There is an acetylene shortage right now and it might be impossible to get in your area without an established account. My advice? Once you find a distributor you like, stick with them. My local Praxair offers "your 5th tank free" and, although they can't give me a free tank of acetylene, I just got my oxygen tank for free. They will also be there for you to answer any questions or address any concerns you might have.

Next week I'll actually talk about torches, I promise. Until then, happy metalsmithing!!!
Saturday, December 24, 2011

“What’s New”

Hello again,
Holidays are here and we are all busy… but…
still we have new creations !
12
art by winona                                        Inbarbareket

34 
lsueszabo                                                  SCJJewelryDesign

56
Michele Grady Designs                       Rebecca Bogan

Have a great weekend !

Sunday, December 18, 2011

Work Of Art - Season 2 Episode 8–“Sell Out”

Premiere: December 7, 2011 
The artists work in teams to create a minimum of one piece of art to sell to the public, but that is also worthy of presenting in a gallery show. 
Since we all already sell to the public the choices are...
a. Collaborate with at least one other person (jeweler or non-jeweler) to create a piece 
b. Create a piece that could be in production but is unique enough to show in an art gallery or magazine
Other interpretations are welcome. This one is a bit vague. 
Happy making!
6512047709_60e679bf00_m
6512085903_b17767dd24
“I used CA Highway 17 as my inspiration. "It connects Santa Cruz and Santa Clara counties. Built in the 1930's... Today more than 75,000 vehicles a day use the beautiful but dangerous road for recreation, access to work, vacations and commerce.... spans 25 miles... it is also a road that many people hate or fear. " From "Highway 17 The Road to Santa Cruz" by Richard A. Beal.
I am among those that fear Hwy. 17! Twisty 2-lane mountain road, where people travel way too fast and even worse in the rainy season.
These earrings are made with hammered 16 gauge copper wire and enameled by torch firing.”

6499375661_da2c3594ca
6499377497_b5c6907d3e
“This is called Urban Decay #1 and is a mixed metals, found/upcycled piece.”

e1
“I collaborated with Betsy Benson (did you know that Betsy?)
I got these gorgeous stones from her.
Than I made these gold and silver earrings”

Enjoy !

Friday, December 16, 2011

“What’s New”

Welcome to "What's New" in our team members shops.
Enjoy viewing our new designs listed this week.

12
Kathryn Cole                                          aroluna
34
lsueszabo                                                  Rebecca Bogan
56
Silentgoddess                                         Michele Grady Designs
78
SCJJewelryDesign                                 Panicmama Jewelry
910 
Lichen and Lychee                               Danielle Miller
1112 
Nodeform                                                 e5jewelry
1314
Victoria Takahashi/Experimetal     Jennifer Lawler Designs
1516
Tonya Zielinski/LivleyHood            Sarah Hood Jewelry 
17il_570xN.282805218
rubygirl                                                    EtsyMetal

Hope to dee you back nest Saturday :-)

A way to make a mount for a cabochon marquise .


 This is a contemporary setting which nicely complements the shape of the stone. Here, I have made the setting into a ring. Notice that my stone changes halfway through the tutorial, this is because there was a few weeks gap in time between when I started and finished the project...where I managed to misplace the original stone in the interim! As with all my tutorials, this is the way that I myself make this setting, there are many variations and tricks used by different jewellers to make settings, there really isn't a definitive 'right' and 'wrong' way, there will be other ways of making this setting. Set the stone as you would normally by using a pusher first, then finishing off with a burnisher.


In your doming block, make a dome which allows about 1mm extra space at either end of your stone. In this example, my metal is 0.9mm thick to allow for depth of metal to be cut away in creating the seat later.


Use a template or some other method to mark your dome in half.


I use a piece of emery paper to draw a line that dissects the dome.


Saw the dome in half, then use binding wire to re-assemble the pieces back together, into the cup shape. Flux and solder together.


Check the stone fits into the cup. I'm using a nub of beeswax to hold onto my stone. I needed to open up my cup a bit as it was too narrow, I did this my forcing a doming punch into the cup until the stone fitted in nicely. File / emery (also know as Wet & Dry paper) the rim of the cup until it is level.


Now, as for a normal cabochon rub-over setting, envisage where the base of the stone needs to sit so that there is enough height of metal to rub over the curved sides of the stone. You can see here where I have chosen where that seat needs to be and I am using dividers to score a line.


Next, you need to cut away the metal of the seat, down to the line you marked earlier, to create the seat. Try and keep to within the line you cut. I find this part tricky as I'm not too handy with a pendant drill, the burr which I find easiest to cut the seat out with is one of these shown above, a "bud burr" but you might mind a different burr easier, just experiment. Keep your metal dust for sending off for recycling.


Next, use a graver to sharpen up the burr-engraved seat, making the little ledge that now exists, crisp and sharp. Keep testing the fit of the stone into your work.


Here you can see the finished cutting inside the cup, with the (upside down) stone next to it.


Here you can see the stone sitting inside the cup mount ready to be set. Notice that the walls of the cup are significantly thinner after being burred away. For teaching purposes I am leaving this ring un-set to allow students to see the interior of the cup and the burred seat. To set the stone I would use a pusher then finally a burnisher to set the stone, just as you would for a basic rub-over cabochon setting. If your marquise stone has quite sharp pointed ends, then for a neater shape, you could file down the pointed ends of the almond shaped cup, so that they are a little lower than the rest of the bezel edge, then this would eliminate any pinching. I didn't need to do that here, because my stone has quite rounded tips.


This book is one I have bought very recently and find to be superbly clear to follow. It also has this mount featured very similarly to how I've done it here (I learned from an old, out-of-print book, long ago) and also how to make the mount for a faceted marquise and many other instructions. (I am not affiliated to the author or publisher in any way).

Good luck!

Thursday, December 15, 2011

Project Accessory Season 1-Challenge 6: "Kenneth Cole"

Project Accessory Challenge
The designers were asked to design accessories for the Kenneth Cole Holiday Collection. They each were assigned an outfit from the collection that they needed to accessorize with a clutch and an accessory of their choice. The challenge asked them to incorporate their style but to also create something that fits with the aesthetic of the Kenneth Cole brand. The winner was awarded having their items produced by Kenneth Cole and sold in the Holiday Collection.

EtsyMetal Challenge
For this weeks challenge, create an accessory of your choice that goes with one of the outfits given to the designers from the Kenneth Cole Collection. It must still fit your own personal style but accessible enough to be part of the Kenneth Cole brand.


And the creations...


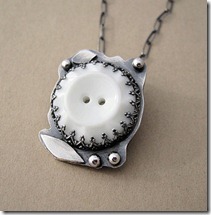
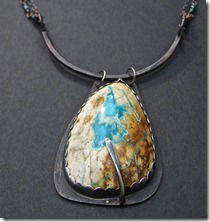
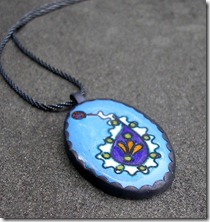
A vintage carved mother of pearl button brings this piece together with neutral coloring to go with any of the Kenneth Cole dresses in the episode. Handmade with fine and sterling silver and accented with a white cultured pearl at the clasp.


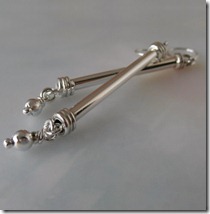
Here's my entry for the Kenneth Cole challenge- it should go nicely with any of his clothes- it's black and modern.


Zen Circle with black onyx dagger bullet dangles, sterling silver. 32" long chain that converts to 16" length. I wanted something dramatic but versatile. Black, of course, to go with the Kenneth Cole image.
The Next Challenge:

Season 1~Episode 7

Aired 12/15/11, 10pm/9pm cst

View full episodes here:
http://www.mylifetime.com/shows/project-accessory/video/full-episodes

Project Accessory Challenge
The designers were asked to design accessories for a red carpet evening gown. They each chose a gown from the choices. The challenge asked them to bring their signature style to make statement accessories to compliment the gowns they chose. They were taken to a store in NYC called Evolution. The store was filled with insect specimens. Each contestant was to choose an insect for the inspiration to their challenge. The insect had to be used in at least one of the accessories. TWO designers were eliminated in this challenge to bring the final three to the seasons final show next week.

EtsyMetal Challenge
For this weeks challenge, create an accessory or two of your choice that goes with one of the gowns chosen by the designers from the show. It must fit your own personal style but use an insect or bug as inspiration. If you have a few bugs laying around, by all means, use them!

Now go be creative!


Submissions due: 12 midnight pst Next Thursday, 12/22/11.

**guidelines for guest submissions**
Please read this every week as there may be small updates and changes. The pieces you submit must be pieces that are made specifically for that weeks challenge. Then post a link to your challenge creation in this weeks comment area before the deadline.
*We only are accepting guest submissions from our blog comment area at this time, insert your links there. Then please cross-post this to your Blog, Flickr, Etsy, etc. And tag them with "EMPA 1.7". We will post your name with a link and a picture of your piece on our blog. The deadline for guest submissions will be Thursday at 12 am (midnight), Pacific Standard Time. The new blog posts and the new challenge will go up the Friday after the new episode airs.


Monday, December 12, 2011

Work Of Art - Season 2 Episode 7 - "La Dolce Arte"

Premiere: November 30, 2011 
The artists must utilize one automobile component from a Fiat 500 and transform it into a piece of art.


Evelyn Markasky  


"My first car ever, was a pea green '65 mustang convertible with pony interior. I loved that car. Perhaps I loved it too much. It broke down almost every week and I just didn't have the know-how or the money to fix it, so I eventually sold it to my boss's 16 year old son. I worked for a sandblasting company and they restored and collected cars. I think he still has it.
So in memoriam for my 1st car, I took the emblem of the mustangs and pierced them out of copper, enameled them and added fused copper chain."


Our next challenge:
Episode 8: Sell Out 
Premiere: December 7, 2011 

Due date: December 16, 2100
The artists work in teams to create a minimum of one piece of art to sell to the public, but that is also worthy of presenting in a gallery show. 

Since we all already sell to the public the chioces are...
a. Collaborate with at least one other person (jeweler or non-jeweler) to create a piece 
b. Create a piece that could be in production but is unique enough to show in an art gallery or magazine

Other interpretations are welcome. This one is a bit vague. 
Happy making!

Sunday, December 11, 2011

Project Accesory Season 1- Episode 5 "Beach Blanket Blingo"

Project Accessory Challenge
The designers were asked to design beachwear accessories. They each chose a bathing suit & then were sent to Coney Island Beach to collect found objects for creating a pair of sandals, headwear & an accessory of their choice. Given $100 to also shop a the tourist shops along the boardwalk.

EtsyMetal Challenge
Since we all don't live near a body of water, I chose to keep it simple. Create a piece of jewelry that would be worn stylishly to the beach. It can be a ring, bracelet, earrings, necklace, belt, anklet...you choose! You may incorporate objects from the beach, but not a requirement.

Here are this weeks creations:

Kira Ferrer
Kira often incorporates beach glass into her work. This was the perfect challenge for her!


Panicmama Jewelry
I choose to do something that emphasizes textures you might find on the beach. This abstract pendant incorporates a labradorite rose cut stone, bead, and a Tahitian Cultured Pearl (what is more beachy than a pearl!)


The Next Challenge:

Season 1~Episode 6

Aired 12/08/11, 10pm/9pm cst

View full episodes here:
http://www.mylifetime.com/shows/project-accessory/video/full-episodes

Project Accessory Challenge
The designers were asked to design accessories for the Kenneth Cole Holiday Collection. They each were assigned an outfit from the collection that they needed to accessorize with a clutch and an accessory of their choice. The challenge asked them to incorporate their style but to also create something that fits with the aesthetic of the Kenneth Cole brand. The winner was awarded having their items produced by Kenneth Cole and sold in the Holiday Collection.

EtsyMetal Challenge
For this weeks challenge, create an accessory of your choice that goes with one of the outfits given to the designers from the Kenneth Cole Collection. It must still fit your own personal style but accessible enough to be part of the Kenneth Cole brand.

Now go be creative!


Submissions due: 12 midnight pst Next Thursday, 12/15/11.

**guidelines for guest submissions**
Please read this every week as there may be small updates and changes. The pieces you submit must be pieces that are made specifically for that weeks challenge. Then post a link to your challenge creation in this weeks comment area before the deadline.
*We only are accepting guest submissions from our blog comment area at this time, insert your links there. Then please cross-post this to your Blog, Flickr, Etsy, etc. And tag them with "EMPA 1.6". We will post your name with a link and a picture of your piece on our blog. The deadline for guest submissions will be Thursday at 12 am (midnight), Pacific Standard Time. The new blog posts and the new challenge will go up the Friday after the new episode airs.

Saturday, December 10, 2011

What’s New !

Welcome !
We had very fruitful week and we show you a bit of what we have to offer.
This is the time to the "last moment" buy !
Enjoy !

12
Rebecca Bogan                                       aroluna
35
e5jewelry                                                  lsueszabo
il_570xN.2928217366
 Nodeform                                                 Fluxplay
78
Danielle Miller                                        Art By Winona
910
 Michele Grady Designs                        Hartleystudio
1112
 SCJJewelryDesign                                 Quercus Silver
1314
Sarah Hood Jewelry                             Lichen and Lychee
15 16
Nodeform Weddings                              Panicmama Jewelry
17il_570xN.293016789
Inbar Bareket                                           Gotham Atelier
2021
Silentgoddess                                            simplymega
19


We will be here again next Saturday with new amazing jewelry !
Related Posts Widget for Blogs by LinkWithin
 
>